How to Edit Images
Especially when there are way too many.

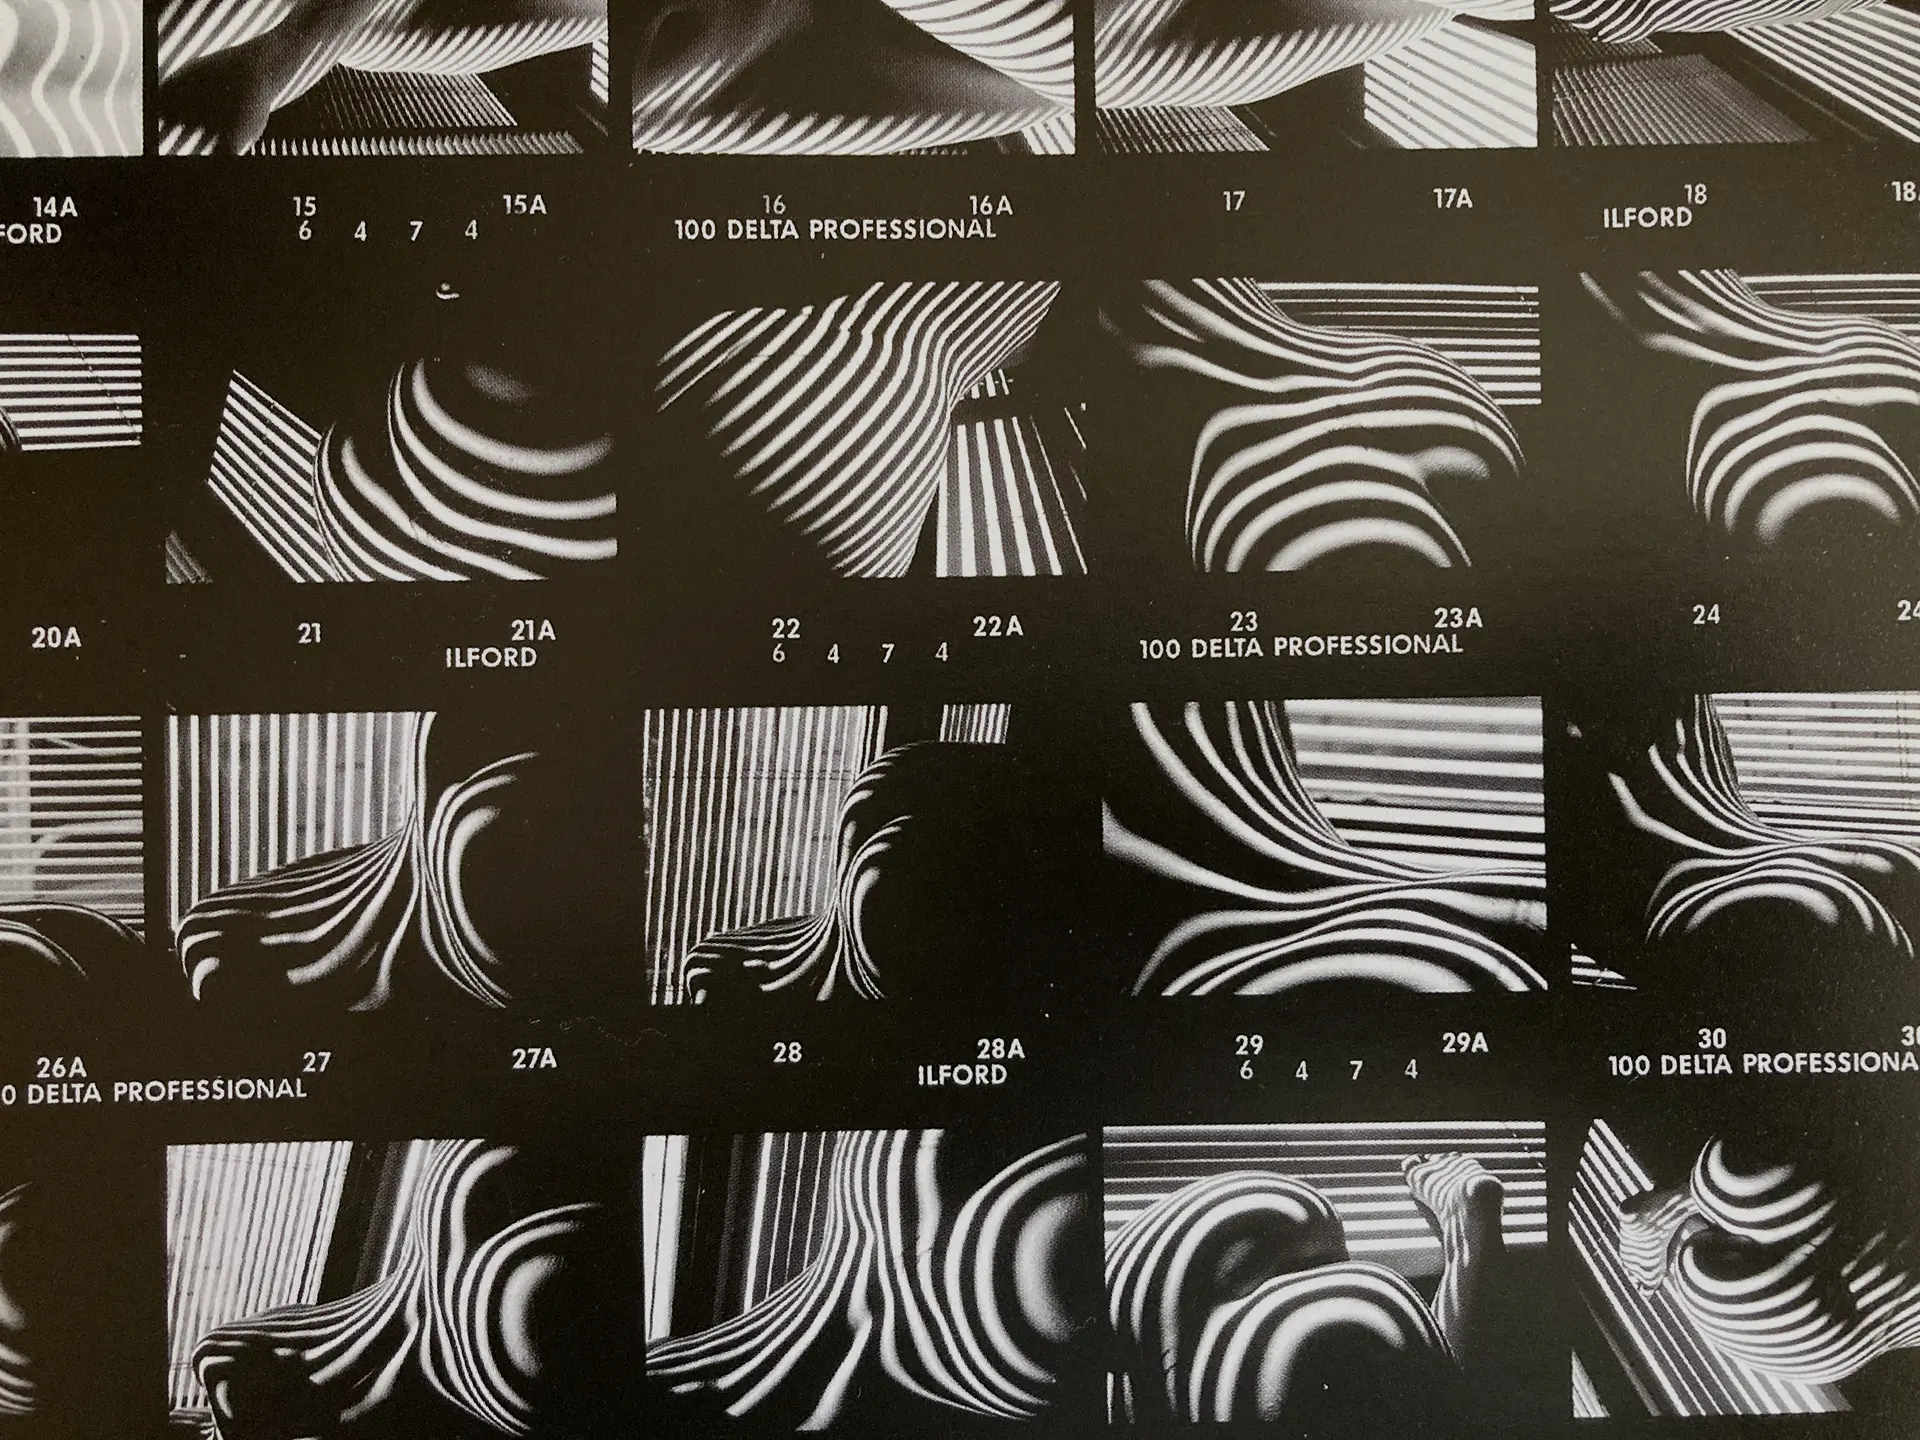
There is no practical limit to how many images a photographer can shoot (terabyte drives are under a hundred bucks), and that includes yourself on vacation. Yes, it's great to have options, but when the choice numbers in the hundreds or thousands, it can feel very overwhelming. Good photographers will do some kind of first pass edit – at least removing things like the ones where someone blinked, the flash didn't fire, the assistant walked through. Probably also removing images that didn't quite work for whatever reason. But image editing is time consuming, and a lot of photographers would rather err on the side of giving you more than less.
So now you're left with selecting a pared down library or even just one from hundreds. The best one. Which of course can be subjective, but this is your job – to be the eye. Here's how I approach it – first quickly, then slowly.
First Pass From the Gut
I always open the images in Photoshop in chunks – usually around 15-20 images at a time. This breaks down the huge amount into smaller sets to deal with. I always select Window >> Arrange >> Float All in Windows so I can move the images independently to visually sort them into groups and pull up some side by side for comparison.
Once you have your first chunk open, immediately close out any images that are just wrong – someone blinked, doesn't fit the parameters, something you tried on set that didn't work, etc. This should be straightforward.
Then, group what's similar. Look at two at a time side-by-side and close out the one that's less good. This should be done quickly and with gut feeling. If there are two and you can't decide, leave them both in at this point. Whatever images are left on your screen, note the numbers and close all the images from that chunk. Open the next chunk of 15-20 images and repeat. Once you've gotten through all the chunks, make a selects folder and drag all the numbers you noted into it.
Rest
Once you've organized your first pass selects, do not look at them for a while. Leave them at least to the next day if you can. This is an important step.
Second Pass Thoughtfully
Hopefully you've culled down your selects to about 15-20% of the original amount. It always depends on the project, but I think that's a good general percentage to think about editing on the second pass. So, if you started out with 500 images, you should have about 75-100 in your selects folder for the second pass. If you started with 100 images, you should have 15-20, both of which should feel much more manageable, and you can spend more time with each image.
Again, depending on how many you have left, you can break them again into chunks. Group similar images together for each setup or variation to compare and close out your least favorite. You can be more thoughtful in this pass, and look closely. If you are editing a library of images, you should have either one or two images per setup or variation at the end of this pass. If you are editing down to one image, you may still have a handful and want to sleep on it one more time.
Still Having a Hard Time Deciding?
• Do something else for a while or come back to it the next day. Tired eyes/brains do not make the best decisions.
• Go back to your gut feeling
• Try them in layout if you have one
• Occasionally, if it's a smaller number of images, and I need only one, I'll actually go back to the beginning and re-edit. I typically end up selecting the same images again, but it feels like confirmation.
Remember at this point, you're not picking a bad photo. You're picking the best of the best based on really subtle cues. Think about the gestalt of the image – don't get overly focused on a small thing that's fixable. If it feels right, it probably is right.

